
Forms
Forms in Chatbix AI allow you to collect structured information from users and connect it directly with your AI agents, inbox, and workflows. They are ideal for capturing leads, onboarding users, collecting feedback, and triggering automated actions.
Creating a New Form
To create a form:
- Navigate to Forms from the left sidebar.
- Click “New Form.”
- Choose a form type or start from scratch.
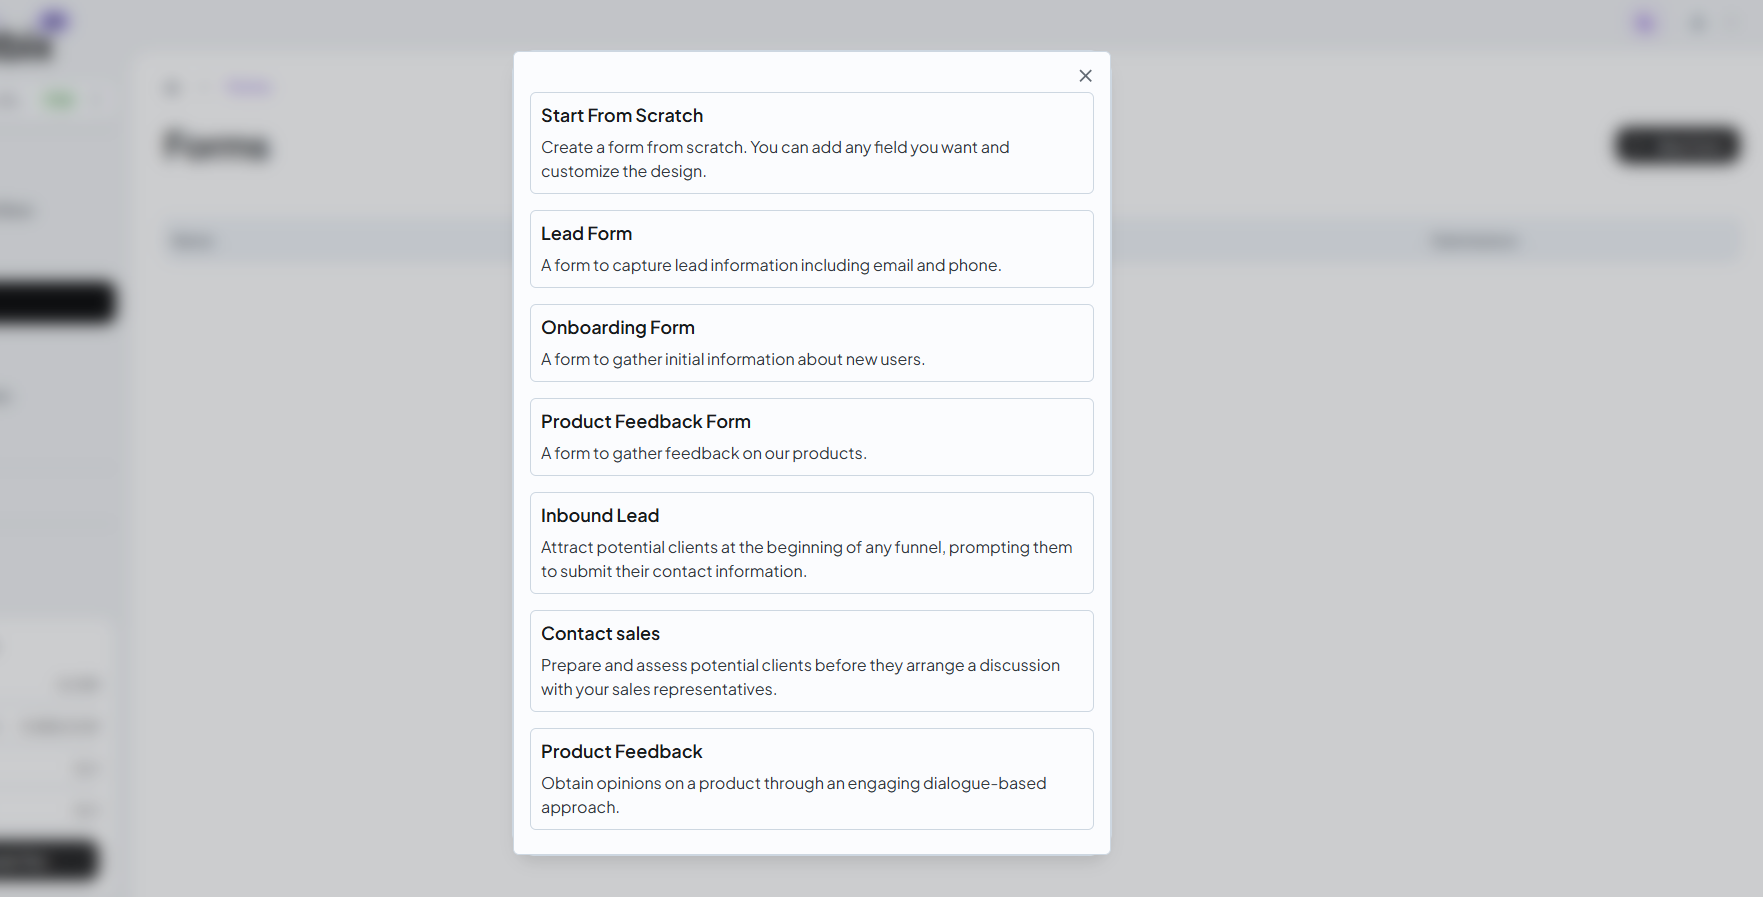
Form Templates
Chatbix AI provides ready-to-use templates to help you get started quickly.
1. Start From Scratch
Create a fully custom form with complete control over fields and design.
Best for: Advanced or custom use cases
2. Lead Form
Capture lead information such as name, email, and phone number.
Best for:
- Marketing campaigns
- Sales leads
- Website contact forms
3. Onboarding
Collect essential information from new users during signup or onboarding.
Best for:
- User onboarding
- Product setup
- Customer profiling
4. Product Feedback Form
Gather feedback and opinions about your product or service.
Best for:
- Feature feedback
- User experience surveys
- Product improvements
5. Inbound Lead
Attract potential customers at the start of your sales funnel.
Best for:
- Lead qualification
- Pre-sales data collection
6. Contact Sales
Collect detailed information before scheduling sales discussions.
Best for:
- Enterprise sales
- Demo requests
- Sales qualification
Form Editor Overview
Each form includes a powerful editor with the following sections:
1. Form Details
Configure the basic information of your form:
- Form Name
- Form Description
- Branding
- Public Form URL
This URL can be shared or embedded on your website.
2. Form Fields
Add and customize fields users will fill out.
Supported Field Types:
- Text
- Phone number (with country code)
- Address
- File upload
- Dropdown
- Multi-line text
- Required / Optional fields
You can reorder fields and set validation rules
3. End Screen
Customize what users see after submitting the form.
You can:
- Show a thank-you message
- Redirect to a URL
- Display next steps or instructions
4. Webhook Integration
Automatically send form submissions to external systems.
Use cases:
- Send data to CRM
- Trigger automation workflows
- Notify backend services
- Integrate with Zapier or custom APIs
Publishing the Form
After configuring your form:
- Click Publish Updates
- Your form becomes live instantly
- Share the public form link or embed it on your website
Installing & Sharing Forms
Forms can be:
- Shared via direct URL
- Embedded into websites
- Used inside AI chat flows
- Connected to agents for follow-up conversations
Viewing Submissions
All form responses are stored securely and can be accessed from:
Forms → Submissions
You can:
- View submission history
- Track submission count
- Export data
- Connect responses to contacts and inbox
Common Use Cases
- Lead generation
- Customer onboarding
- Feedback collection
- Sales qualification
- File intake
- AI-powered follow-ups
Best Practices
- Keep forms short and clear
- Ask only necessary questions
- Use required fields wisely
- Add a clear end-screen message
- Connect forms with agents or webhooks for automation