
Email Inboxes
Email Inboxes allow you to receive and reply to customer emails directly from Chatbix AI. Incoming emails are forwarded to your Chatbix AI inbox, where agents and AI can collaborate to resolve conversations faster.
This feature works using email forwarding. For example, emails sent to support@chatbix.ai can be automatically forwarded to your Chatbix AI inbox.
What You Can Do with Email Inboxes
- Receive customer support emails in Chatbix AI
- Reply directly from the dashboard
- Centralize support conversations (AI + human)
- Use AI Agents to assist with responses
- Add your own sender name, signature, and branding
Step-by-Step: Create Your First Email Inbox
Step 1: Create Email Inbox
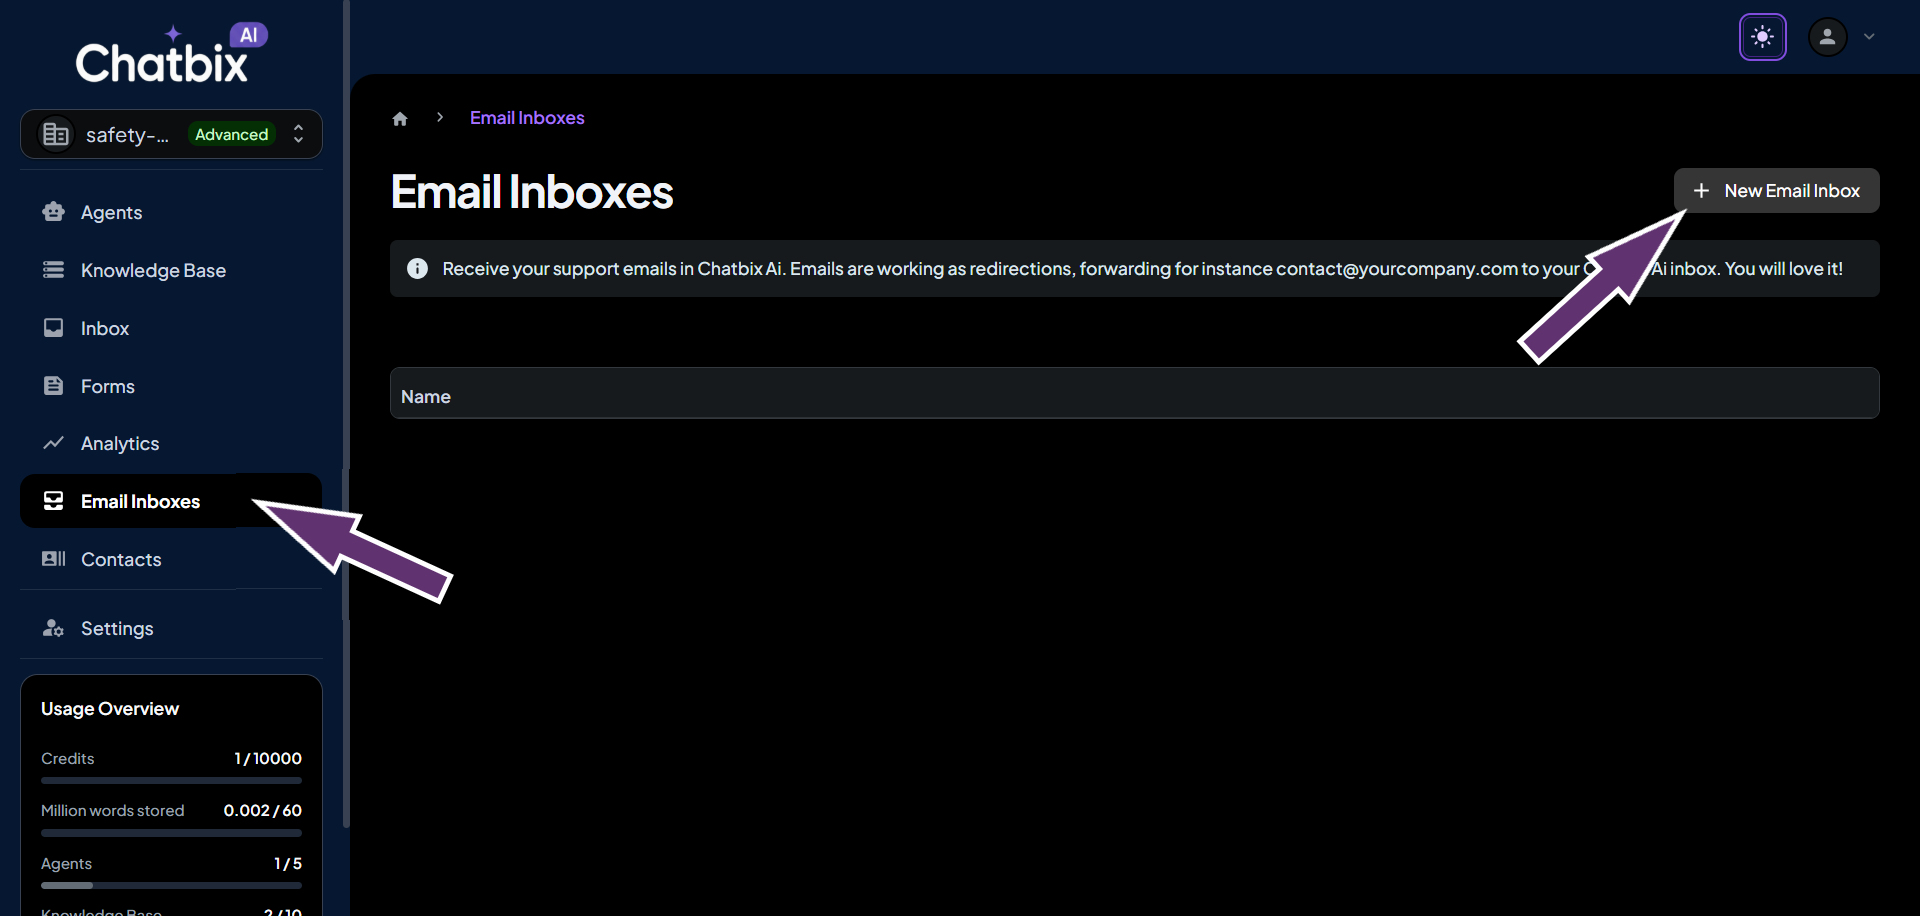
To create an email inbox, open Email Inboxes from the left navigation panel, then select New Email Inbox.
Step 2: Configure Inbox Settings
You will now see the inbox setup screen.
1. Alias (Required)
- Choose a unique alias for your inbox
- Example: support-team
- Your default sender address will look like this:
- support@chatbix.ai
- On the free plan, emails are sent from the Chatbix AI domain.
2. Custom Sender Email (Optional – Paid Feature)
- Enter your own email address (example: support@chatbix.ai)
- Click Verify after entering the email
- A verification code will be sent to this email
- Enter the code to confirm ownership
Custom sender emails are available on paid plans only.
3. From Name
- Set the name users will see as the email sender
- Example: Chatbix Support Team
4. Signature
- Add a default email signature
- Basic HTML is supported
Example: Best regards, Chatbix Support Team
5. Branding
- Enable or disable Show Chatbix AI Branding
- Branding removal is available on premium plans
Step 3: Install & Set Up Email Forwarding
To receive emails in Chatbix AI, you must forward emails from your existing mailbox.
1. Copy Forwarding Address
- Open your email inbox.
- Go to the Install tab
- Copy the provided forwarding email address
Example: support@chatbix.ai
2. Configure Forwarding in Your Email Provider
Log in to your email provider (e.g., Gmail, Outlook, or Zoho) and set up forwarding to the copied address.
Gmail Example:
- Open Gmail Settings
- Go to Forwarding and POP/IMAP
- Click Add a forwarding address
- Paste the Chatbix AI forwarding address
- Confirm verification
- Enable forwarding for incoming emails
Once completed, all new emails will appear inside Chatbix AI.
Managing Conversations
- Incoming emails appear in the Inbox section
- Each email becomes a conversation thread
- Agents and AI can reply directly
- Change conversation status (Resolved / Unresolved)
- Assign conversations to team members
Best Practices
- Use one inbox per department
- Set a clear From Name
- Combine Email Inboxes with AI Agents
- Monitor unresolved emails daily