
Agent
What is an agent?
- An agent is a configurable AI assistant powered by a large language model (LLM). Agents are responsible for understanding user questions and generating answers based on the knowledge available in connected Knowledge Base.
- Each agent can be customized for a specific use case, such as customer support, documentation, internal knowledge, or sales assistance.
Agent List Overview
- The Agents page displays all created agents in your workspace with the following details:
Agent Name
- The unique name of the AI assistant (e.g., Flopsy, Ansh).
Description
A short explanation of the agent’s purpose or domain, such as:
- Product Support
- Cryptocurrency Knowledge
- Internal Documentation
Create a new agent
- Open the Agent from the sidebar menu
- Click on the “New Agent ” button
- Provide the name and description, and choose a model.
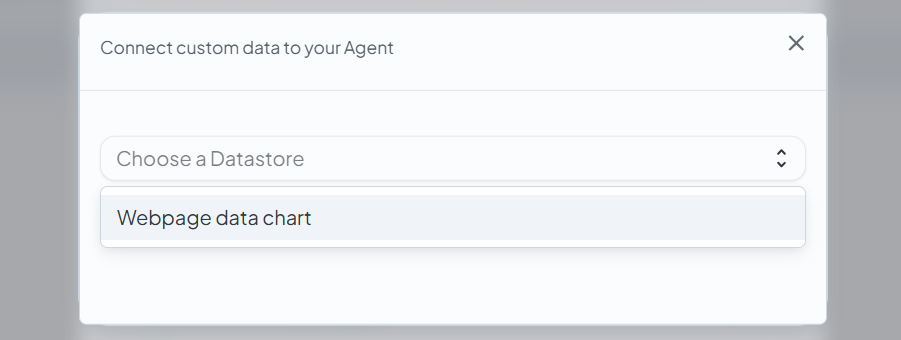
- Connect Knowledge Base → Attach one or more Knowledge Base to define the knowledge the agent can access.
- Once the user clicks on the Knowledge Base plus button, the Knowledge Base becomes visible on the list
- And the user can also create the Knowledge Base from the agent.


Video: Create a new agent
Multiple Agents Use Case
Chatbix AI supports multiple agents per workspace, enabling:
- Separate agents for different departments
- Different knowledge bases per agent
- Different models and behaviors per use case
Agent Settings
The Agent Settings is the central control center in Chatbix used to test, deploy, and configure an AI agent
The Chat Module is used to test how your agent responds to user messages in real-time before deployment.
Chat Interface Overview
- New Chat Button – Starts a fresh conversation without using previous chat context.
- Conversation History Panel – Displays past chat sessions for review and comparison.
- Live Chat Window – Shows real-time interaction between the user and the agent.
- Message Input Box – Allows users to type and send messages to the agent.
How to Test an Agent
Click New Chat
Starts a new testing session.
Type a User Message
Enter sample queries such as “Hi” or “What is Cognyx AI?”.
View AI Response
Review the agent’s reply for accuracy and tone.
Give Feedback (👍 / 👎)
Rate the response to help evaluate performance.
Check Sources (If Enabled)
Verify the information sources used in the response.
Tools Panel in Chat
The Tools Panel shows the active capabilities available to the agent during a chat session.
- Connected Tools Visibility – Displays which tools are currently enabled for the agent.
- Knowledge Base Sync Status – Indicates whether the agent is using the latest synced knowledge.
- Tool Availability During Chat – Confirms which tools the agent can use while responding to messages.